Mini Red Velvet Cheesecake
Highlighted under: Sweet Treats & Homemade Desserts
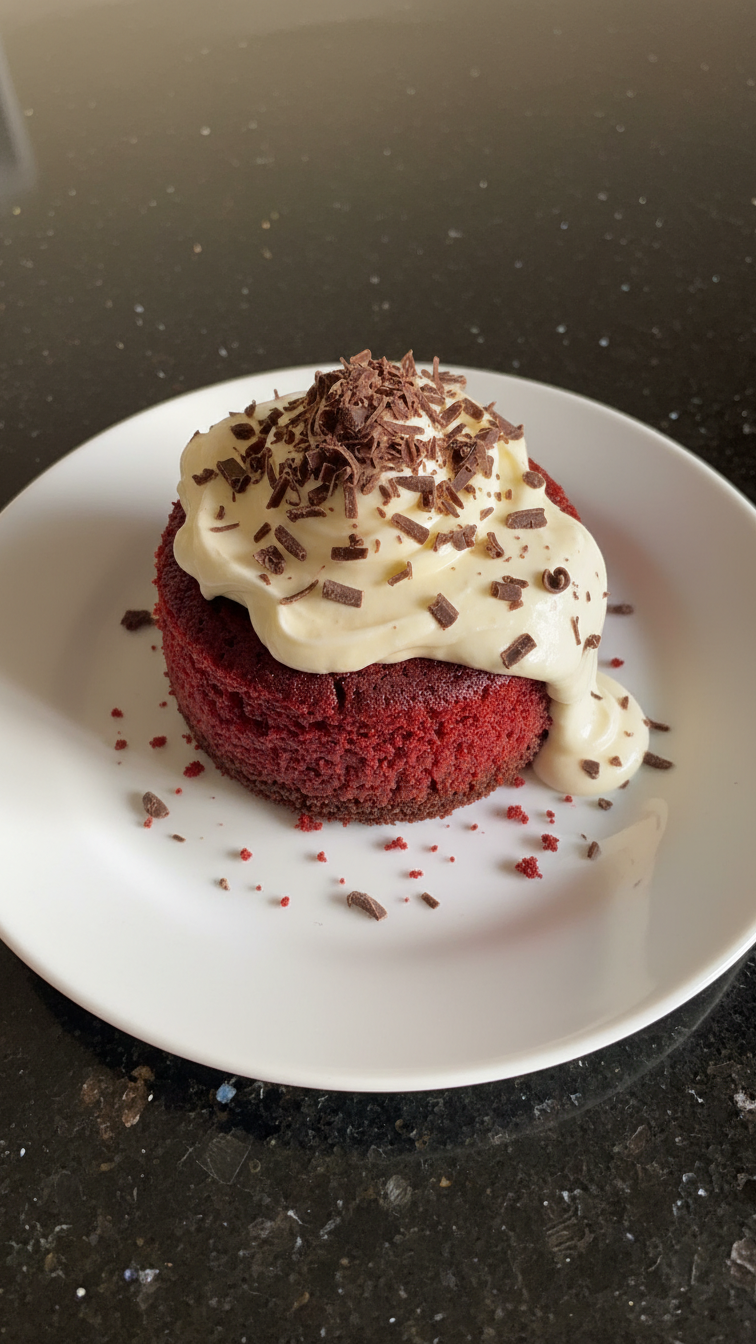
I absolutely love making mini red velvet cheesecakes because they pack all the rich flavors of traditional red velvet cake into a delightful, bite-sized dessert. The creamy texture of the cheesecake complements the subtle cocoa and vanilla notes perfectly, while a hint of tanginess rounds it all out. Perfect for sharing at parties or enjoying on a cozy night in, these mini cheesecakes are an indulgence I can never resist!
When I first made mini red velvet cheesecakes for a friend's birthday, I was amazed by how quickly they vanished from the dessert table! I carefully tweaked my traditional cheesecake recipe to infuse it with that signature red velvet flavor, balancing the sweetness with a rich cream cheese frosting. The result was nothing short of a showstopper.
One key tip I discovered is ensuring your cream cheese is at room temperature before mixing—this creates the smoothest, creamiest batter possible. Also, using quality cocoa powder really enhances the red velvet flavor, making these mini treats irresistible!
Why You Will Love This Recipe
- Decadent cream cheese filling with a hint of cocoa
- Beautifully vibrant red color that's perfect for celebrations
- Easy to make and serve, perfect for parties
Cruising Through the Cheesecake Process
One of the most wonderful aspects of making these mini red velvet cheesecakes is their surprisingly straightforward process. Once you have the ingredients ready, the steps flow easily from preparing the crust to mixing the creamy filling. The graham cracker crust only requires a quick mix and press into the muffin tin, while the filling doesn't need a lot of time. Just remember to soften your cream cheese properly; this ensures a smooth, lump-free batter. You can microwave it in short bursts, checking often, until it's spreadable.
Proper cooling is essential for a great cheesecake. After baking, let them cool in the muffin tin for about 30 minutes before transferring them to a wire rack. This cooling phase helps them set properly and prevents cracks. When they're warm, they can be delicate, so handle them carefully. If you're planning to make these a day in advance, chilling them in the refrigerator overnight allows flavors to meld beautifully, enhancing the final taste.
Flavorful Additions and Variations
While this recipe delivers a classic red velvet flavor, there are some fun variations you can try. For a richer taste, consider adding chocolate chips or crushed cookies into the cheesecake batter. If you're feeling adventurous, you could even swirl in some raspberry or cream cheese filling before the baking step, creating a visually stunning marbled effect. Just be sure to keep the consistencies in mind; you don't want to add too much moisture.
Additionally, it's easy to adjust the sweetness to your preference. If you prefer a less sweet cheesecake, reduce the granulated sugar in the filling by a third without sacrificing texture. You can also experiment with different types of extracts—like almond or lemon—for a unique twist that complements the chocolate and cream cheese flavors.
Ingredients
For the Mini Cheesecakes
- 1 cup crushed graham crackers
- 4 tablespoons unsalted butter, melted
- 2 cups cream cheese, softened
- 1 cup granulated sugar
- 2 large eggs
- 1 tablespoon cocoa powder
- 1 teaspoon vanilla extract
- 1 tablespoon red food coloring
- 1 teaspoon vinegar
- 1/2 teaspoon baking soda
For the Frosting
- 8 oz cream cheese, softened
- 1/4 cup unsalted butter, softened
- 2 cups powdered sugar
- 1 teaspoon vanilla extract
- 1 tablespoon heavy cream
Make sure to measure all ingredients accurately for the best results.
Instructions
Prepare the Crust
Preheat your oven to 350°F (175°C). In a bowl, mix crushed graham crackers with melted butter until well combined. Press the mixture into the bottom of a lined muffin tin to form the crust.
Make the Cheesecake Filling
In a large mixing bowl, beat the cream cheese and sugar together until smooth. Add the eggs, one at a time, mixing well after each addition. Then, add cocoa powder, vanilla extract, food coloring, vinegar, and baking soda, mixing until well combined.
Fill the Muffin Tin
Pour the cheesecake mixture over the crust in each muffin cup, filling them about 3/4 full. Bake for 20-25 minutes, or until the centers are set. Let them cool completely in the tin before transferring them to a wire rack.
Prepare the Frosting
In a bowl, beat the softened cream cheese and butter together until creamy. Gradually add powdered sugar and mix until well combined. Stir in vanilla and heavy cream until smooth.
Decorate
Once the cheesecakes are chilled, pipe or spread the cream cheese frosting on top of each mini cheesecake. Optionally, decorate with sprinkles or chocolate shavings.
Chill for at least 1 hour before serving for the best texture.
Pro Tips
- For an extra touch, consider adding a drizzle of chocolate ganache on top before serving.
Storing and Serving Tips
These mini red velvet cheesecakes can be stored in an airtight container in the refrigerator for up to a week. Make sure they're properly cooled and frosted before sealing to maintain their freshness. If you're a fan of freezing, they can last up to three months in the freezer. Just wrap each cheesecake tightly in plastic wrap and foil before placing them in a freezer bag. When you're ready to enjoy, thaw them in the refrigerator overnight for best results.
For serving, consider adding a touch of flair! They taste even better with a dusting of cocoa powder or paired with fresh berries. A drizzle of chocolate ganache can enhance the decadence if you're feeling extra indulgent. These toppings not only elevate the presentation but also intensify the flavor profile that complements the cheesecake beautifully.
Troubleshooting Common Issues
Making mini cheesecakes can come with its own set of challenges. If you notice the centers are still jiggly after the recommended baking time, give them a few additional minutes but watch closely to avoid overcooking. A perfectly baked cheesecake should spring back slightly when touched. If you experience cracks on the surface, it may indicate overheating. Reducing the oven temperature slightly on your next batch can help achieve a creamy, crack-free result.
Another common issue is stickiness. Ensure you're using lined muffin tins or silicone molds, as these can help in the removal process without damaging the cheesecakes. If they do stick, gently run a thin knife around the edge to release them before lifting. Patience is key when it comes to cheesecakes; allowing them to cool fully in the pan will reward you with a cleaner release and better texture.
Questions About Recipes
→ Can I use a different color food dye?
Yes, you can use any food coloring to achieve your desired hue!
→ How do I store leftovers?
Store any leftovers in an airtight container in the refrigerator for up to 3 days.
→ Can I make these ahead of time?
Absolutely! You can make and freeze the cheesecakes, just thaw them in the refrigerator before serving.
→ What can I substitute for cream cheese in the frosting?
You can use mascarpone cheese or a non-dairy cream cheese alternative for a similar texture.
Mini Red Velvet Cheesecake
Created by: The Pantrytrail Team
Recipe Type: Sweet Treats & Homemade Desserts
Skill Level: Intermediate
Final Quantity: 12 mini cheesecakes
What You'll Need
For the Mini Cheesecakes
- 1 cup crushed graham crackers
- 4 tablespoons unsalted butter, melted
- 2 cups cream cheese, softened
- 1 cup granulated sugar
- 2 large eggs
- 1 tablespoon cocoa powder
- 1 teaspoon vanilla extract
- 1 tablespoon red food coloring
- 1 teaspoon vinegar
- 1/2 teaspoon baking soda
For the Frosting
- 8 oz cream cheese, softened
- 1/4 cup unsalted butter, softened
- 2 cups powdered sugar
- 1 teaspoon vanilla extract
- 1 tablespoon heavy cream
How-To Steps
Preheat your oven to 350°F (175°C). In a bowl, mix crushed graham crackers with melted butter until well combined. Press the mixture into the bottom of a lined muffin tin to form the crust.
In a large mixing bowl, beat the cream cheese and sugar together until smooth. Add the eggs, one at a time, mixing well after each addition. Then, add cocoa powder, vanilla extract, food coloring, vinegar, and baking soda, mixing until well combined.
Pour the cheesecake mixture over the crust in each muffin cup, filling them about 3/4 full. Bake for 20-25 minutes, or until the centers are set. Let them cool completely in the tin before transferring them to a wire rack.
In a bowl, beat the softened cream cheese and butter together until creamy. Gradually add powdered sugar and mix until well combined. Stir in vanilla and heavy cream until smooth.
Once the cheesecakes are chilled, pipe or spread the cream cheese frosting on top of each mini cheesecake. Optionally, decorate with sprinkles or chocolate shavings.
Extra Tips
- For an extra touch, consider adding a drizzle of chocolate ganache on top before serving.
Nutritional Breakdown (Per Serving)
- Calories: 300 kcal
- Total Fat: 22g
- Saturated Fat: 12g
- Cholesterol: 70mg
- Sodium: 220mg
- Total Carbohydrates: 24g
- Dietary Fiber: 1g
- Sugars: 19g
- Protein: 4g