Love at First Aioli
Highlighted under: Sweet Treats & Homemade Desserts
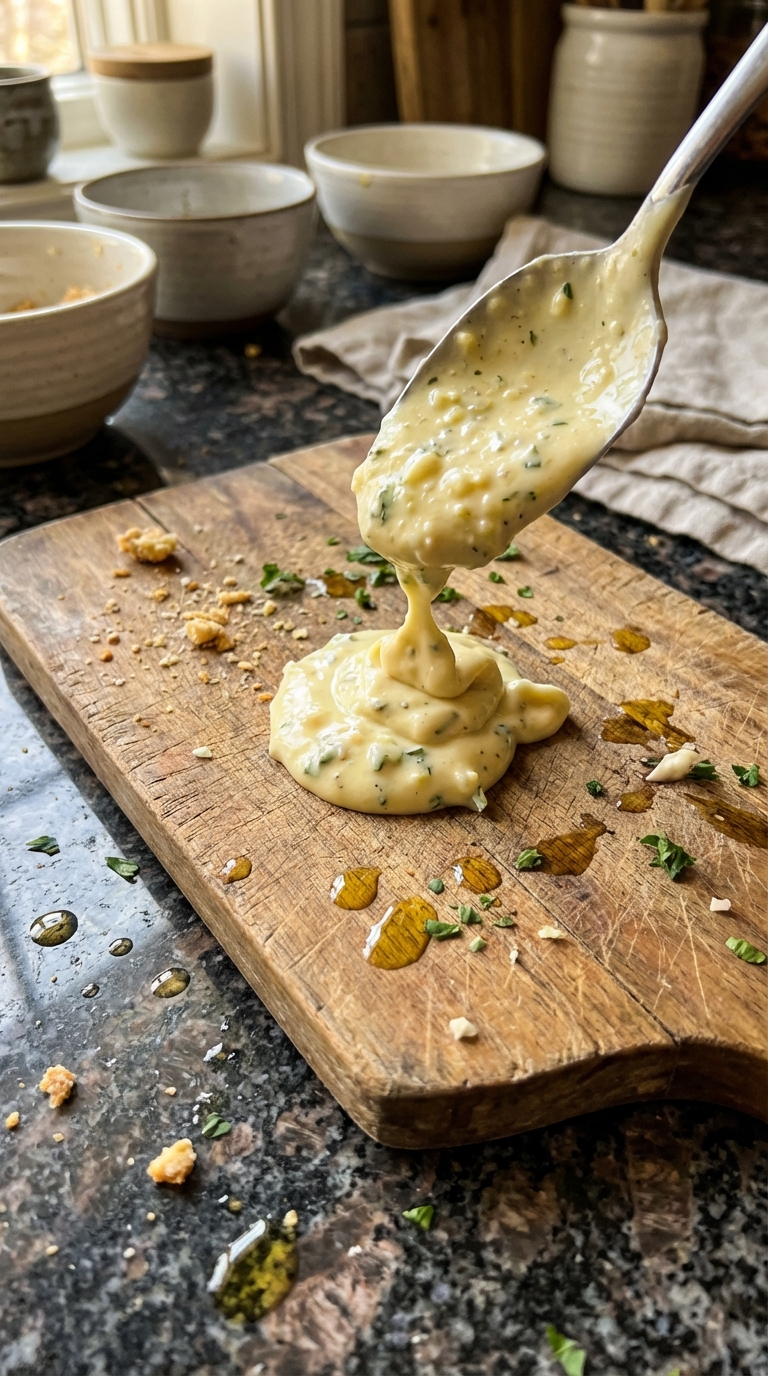
I can't express how much I adore aioli. Whenever I whip up a fresh batch, my kitchen instantly transforms into a haven of flavor and aroma. It’s the perfect condiment that elevates any dish, whether it’s a simple vegetable platter or a grilled meat feast. The creamy texture combined with the garlicky punch is simply irresistible. Today, I'm excited to share my take on this classic sauce, which promises to be a showstopper at your gatherings. Let’s dive into this delightful recipe together!
When I first tasted aioli at a quaint little bistro during my travels in Spain, I was captivated. I knew I had to recreate that magic at home. After experimenting with various combinations, I've perfected a recipe that balances the robust garlic flavor with a velvety consistency. A key tip I learned is to slowly drizzle the olive oil while whisking to achieve that smooth emulsion we all crave.
Every gathering where I serve this aioli becomes a hit, and it often disappears in no time. The compliments just keep pouring in! I love serving it with fresh vegetables or as a spread on sandwiches. Prepare to fall in love with this versatile sauce—it’s a game-changer in the kitchen!
Why You Will Love This Recipe
- Rich garlic flavor that tantalizes your taste buds
- Creamy texture that enhances a variety of dishes
- Perfect for dipping, spreading, or drizzling
The Art of Emulsification
Emulsifying is the key to achieving the perfect aioli texture. When you add the olive oil, drizzle it slowly—start with just a few drops initially. This allows the oil to integrate smoothly with the egg yolk and mustard. If added too quickly, the mixture can separate, resulting in a failed emulsion. If this happens, don’t despair! You can rescue it by starting with a new egg yolk in a clean bowl and slowly whisking in the broken aioli mixture.
To achieve that glossy and thick consistency, aim for a steady hand and continuous whisking. The mixture should resemble a mayonnaise texture once properly emulsified. This process typically takes about 3-5 minutes, and it's worth watching for visual cues. You'll know it's done when the aioli becomes creamy and has a slight sheen.
Ingredient Substitutions and Enhancements
While this aioli recipe is classic, consider swapping the olive oil for avocado oil for a milder flavor, or even a blend of oils for a unique taste. If you want to lessen the garlic intensity, roast your garlic cloves beforehand; this will provide a sweet, mellow flavor that pairs beautifully with the aioli's creaminess. You can also experiment with different acids—apple cider vinegar can replace lemon juice, giving a tangy twist that complements various dishes.
For a spicy kick, feel free to mix in some sriracha or a pinch of cayenne pepper for heat. Fresh herbs like dill or basil can elevate your aioli to new heights, providing an aromatic touch that also brightens the overall flavor. Just remember to finely chop any herbs before adding them to ensure even distribution.
Perfect Pairing and Storage
Aioli shines not just as a condiment but also as a base for many delicious dips. Try using it as a spread for sandwiches or burgers, or drizzling it over roasted vegetables for a sumptuous side dish. It’s particularly fantastic with grilled meats and seafood—for instance, serve it alongside shrimp skewers or a grilled chicken breast for that extra flavor boost.
If you have leftovers, store your aioli in an airtight container in the refrigerator. It should keep fresh for about 3-5 days. I recommend giving it a quick stir before using, as separation might occur. Unfortunately, aioli doesn’t freeze well due to its emulsified nature, so it's best enjoyed fresh. However, making a big batch in advance is always a fantastic idea for those impromptu gatherings!
Ingredients
Gather the following fresh ingredients to make your aioli:
Main Ingredients
- 1 large egg yolk
- 1 tablespoon Dijon mustard
- 1-2 cloves garlic, minced
- 1 cup olive oil
- 2 tablespoons lemon juice
- Salt to taste
With all your ingredients ready, let’s jump into the steps to create this delicious aioli.
Instructions
Follow these simple steps to whip up your aioli:
Prepare the Base
In a mixing bowl, whisk together the egg yolk, Dijon mustard, and minced garlic until fully combined.
Emulsify
Begin to drizzle the olive oil into the mixture very slowly while whisking constantly. This will help create a smooth emulsion.
Season and Finish
Once the aioli thickens, stir in the lemon juice and season with salt to taste. Adjust the flavor as needed.
Your aioli is now ready to enjoy! Serve it fresh or store it in the refrigerator for up to a week.
Pro Tips
- For a twist, try adding fresh herbs like basil or cilantro for an extra burst of flavor!
Troubleshooting Common Issues
One common issue faced during the aioli-making process is the mixture breaking, which means it hasn't emulsified properly. If that happens, don't give up hope! You can start fresh with another egg yolk and then slowly whisk in the broken mixture, bit by bit, until it reincorporates. This technique usually does the trick and saves your batch.
If your aioli tastes too strong from the garlic or sour from the acidity, you can balance these flavors by incorporating a bit more olive oil or adding an extra egg yolk. Both methods will dilute the overpowering flavors and restore harmony to your aioli. Just ensure you blend thoroughly after each adjustment to achieve the desired consistency.
Scaling the Recipe Up or Down
This aioli recipe is highly adaptable, making it easy to scale up for larger gatherings. For parties, simply multiply the ingredients proportionately. Keep in mind that while the emulsification technique remains the same, using a larger bowl can make whisking easier as you can incorporate more oil without the risk of splattering.
If you choose to scale down—perhaps making a single serving—you may find that whisking by hand becomes tedious. In this case, a small food processor might be insightful, allowing you to blend the ingredients efficiently. Just remember to still add the oil very slowly for optimal emulsion results.
Questions About Recipes
→ Can I make aioli without raw eggs?
Yes, you can use store-bought mayonnaise as a base if you prefer to avoid raw eggs.
→ How long does homemade aioli last?
Homemade aioli can be stored in the refrigerator for up to one week.
→ What can I use aioli for?
Aioli is versatile; use it as a dip for veggies, a spread for sandwiches, or a sauce for grilled meats.
→ Can I customize the flavor of my aioli?
Absolutely! You can add ingredients like roasted red peppers, herbs, or spices to create a unique flavor.
Love at First Aioli
Created by: The Pantrytrail Team
Recipe Type: Sweet Treats & Homemade Desserts
Skill Level: Easy
Final Quantity: 1 cup
What You'll Need
Main Ingredients
- 1 large egg yolk
- 1 tablespoon Dijon mustard
- 1-2 cloves garlic, minced
- 1 cup olive oil
- 2 tablespoons lemon juice
- Salt to taste
How-To Steps
In a mixing bowl, whisk together the egg yolk, Dijon mustard, and minced garlic until fully combined.
Begin to drizzle the olive oil into the mixture very slowly while whisking constantly. This will help create a smooth emulsion.
Once the aioli thickens, stir in the lemon juice and season with salt to taste. Adjust the flavor as needed.
Extra Tips
- For a twist, try adding fresh herbs like basil or cilantro for an extra burst of flavor!
Nutritional Breakdown (Per Serving)
- Calories: 150 kcal
- Total Fat: 16g
- Saturated Fat: 2g
- Cholesterol: 58mg
- Sodium: 50mg
- Total Carbohydrates: 1g
- Dietary Fiber: 0g
- Sugars: 0g
- Protein: 1g