Valentine's Day Red Velvet Cake
Highlighted under: Sweet Treats & Homemade Desserts
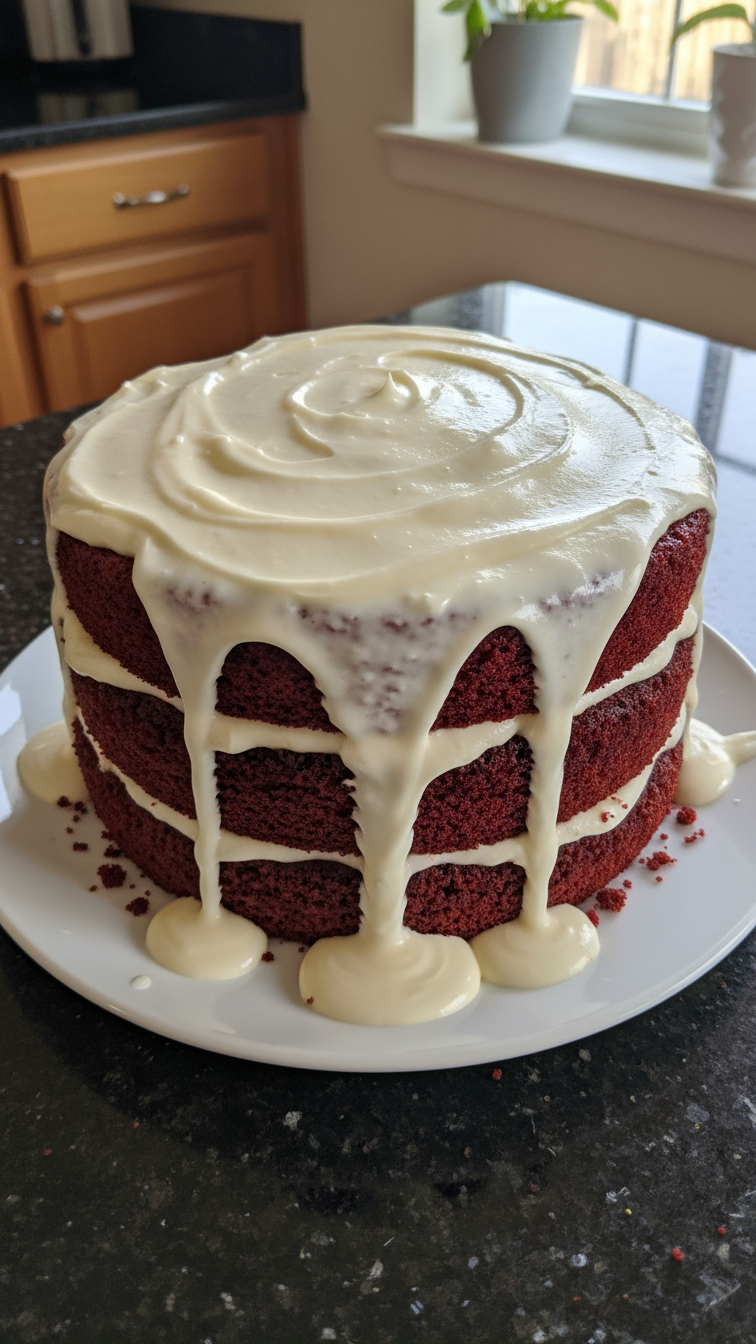
I absolutely adore making this Valentine's Day Red Velvet Cake! Each time I whip it up, the vibrant color and rich flavor never fail to impress my loved ones. The combination of cocoa and buttermilk creates a moist texture that perfectly balances the subtle tanginess from the cream cheese frosting. It's not just about looks; this cake truly tastes as good as it appears. Whether it's a romantic dinner or a friendly gathering, this cake is always the star of the show, bringing a smile to everyone’s face.
Every Valentine's Day, I find joy in baking this stunning Red Velvet Cake. The rich, velvety batter not only captivates the eye with its deep red hue, but it also tantalizes the palate with a delicate cocoa flavor. Once, I experimented with adding a hint of vanilla, and it elevated the taste even more! Each layer is infused with love and sweetness, making it a delightful treat.
What I love most is how the cream cheese frosting complements the cake's flavors. I've learned that letting the frosting chill for a bit before spreading makes it easier to work with while enhancing its creaminess. Serve it to your loved ones and watch their faces light up with happiness!
Why You'll Love This Recipe
- Luxurious, velvety texture that feels indulgent
- Beautifully vibrant color that stands out on any table
- Cocoa flavor with a hint of tang from the cream cheese icing
Understanding the Key Ingredients
The foundation of a great Red Velvet Cake lies in its ingredients, especially the buttermilk and cocoa powder. The buttermilk not only adds moisture but also provides a tangy balance to the sweetness of the cake. When it interacts with baking soda, a reaction occurs that helps to create a tender crumb. Opting for high-quality cocoa powder ensures that your cake will have a rich chocolate flavor that pairs beautifully with the cream cheese frosting.
Red food coloring is essential for that classic deep red hue, but it’s important to use a vibrant, gel-based color for the best result. Liquid food coloring can dilute the batter, affecting texture and taste. If you're looking for a natural alternative, beet juice can provide a subtle color but be aware that it might alter the cake's flavor slightly.
Baking and Cooling Tips
When baking the cakes, ensure that your oven is fully preheated to 350°F (175°C) to promote even rising. Pay attention to the baking time; start checking for doneness a few minutes before the 30-minute mark. A toothpick inserted into the center should come out clean or with a few moist crumbs. Overbaking can lead to a drier cake, so keep a close eye on it during the final minutes.
After removing the cakes from the oven, allow them to cool in the pans for about 10 minutes. This step is crucial because it allows the cakes to set and firm up slightly, making it easier to transfer them to wire racks without breaking. If you find the cakes stuck to the pans, gently run a knife along the edges before inverting them. Cooling them completely before frosting is essential; if they are even slightly warm, the frosting can melt and slide off.
Ingredients
For the Cake
- 2 1/2 cups all-purpose flour
- 1 1/2 cups granulated sugar
- 1 teaspoon baking soda
- 1 teaspoon salt
- 1 teaspoon cocoa powder
- 1 1/2 cups vegetable oil
- 1 cup buttermilk, at room temperature
- 2 large eggs, at room temperature
- 2 tablespoons red food coloring
- 1 teaspoon vanilla extract
- 1 teaspoon white vinegar
For the Cream Cheese Frosting
- 1 cup unsalted butter, softened
- 8 oz cream cheese, softened
- 4 cups powdered sugar
- 1 teaspoon vanilla extract
- 1-2 tablespoons milk (if needed)
Instructions
Instructions
Preheat the Oven
Preheat your oven to 350°F (175°C) and grease two 9-inch round cake pans.
Combine Dry Ingredients
In a large bowl, sift together the flour, sugar, baking soda, salt, and cocoa powder.
Mix Wet Ingredients
In another bowl, mix the oil, buttermilk, eggs, food coloring, vanilla extract, and vinegar until well combined.
Combine Mixtures
Gradually add the wet ingredients to the dry ingredients, mixing until just combined.
Bake the Cakes
Divide the batter evenly between the prepared pans and bake for 30 minutes or until a toothpick inserted comes out clean.
Cool the Cakes
Allow the cakes to cool in the pans for 10 minutes, then turn out onto wire racks to cool completely.
Make the Frosting
In a large bowl, beat the softened butter and cream cheese until smooth. Gradually add the powdered sugar and vanilla extract, mixing until creamy. Add milk as needed to achieve desired consistency.
Assemble the Cake
Once the cakes are cool, spread frosting on top of one layer, place the second layer on top, and frost the top and sides of the cake.
Decorate and Serve
Decorate with additional frosting or sprinkles if desired, slice, and serve!
Tips
Pro Tips
- Make sure all your ingredients are at room temperature for the best results. For an extra touch, consider adding chocolate chips into the batter or topping with fresh berries before serving.
Storage and Make-Ahead Tips
This Red Velvet Cake can be made ahead of time, which is especially helpful for busy occasions like Valentine's Day. Baked layers can be stored in an airtight container at room temperature for up to 2 days or in the refrigerator for about a week. For longer storage, consider wrapping the layers tightly in plastic wrap and freezing them for up to 3 months. Just be sure to fully thaw before frosting.
If you prefer to frost on the day of serving, you can prepare the cream cheese frosting in advance as well. It can be stored in the refrigerator for up to 5 days. Just give it a good stir to bring it back to a spreadable consistency before you frost the cake.
Serving Suggestions
When it comes to serving your beautiful Red Velvet Cake, presentation matters! Consider garnishing with fresh berries or a dusting of cocoa powder for an elegant touch. You can also serve it with a scoop of vanilla ice cream on the side for a delightful contrast to the rich cake and frosting.
For a unique twist, try layering the cake with additional fillings such as chocolate ganache or fresh whipped cream between the layers before applying the cream cheese frosting. This not only enhances the flavor but also adds a fun surprise when your guests take the first slice.
Questions About Recipes
→ Can I make this cake in advance?
Yes! You can bake the cakes a day ahead and store them wrapped in plastic wrap at room temperature until you're ready to frost.
→ How do I store leftover cake?
Store any leftover cake in an airtight container in the refrigerator for up to 3 days.
→ Can I substitute the buttermilk?
Yes, you can use a mixture of milk and vinegar. For each cup of buttermilk, use 1 cup of milk mixed with 1 tablespoon of vinegar, let it sit for 5 minutes before using.
→ Is the food coloring necessary?
It is a key ingredient for the classic red velvet look, but if you prefer, you can omit it for a chocolate cake.
Valentine's Day Red Velvet Cake
Created by: The Pantrytrail Team
Recipe Type: Sweet Treats & Homemade Desserts
Skill Level: Intermediate
Final Quantity: 8-10 servings
What You'll Need
For the Cake
- 2 1/2 cups all-purpose flour
- 1 1/2 cups granulated sugar
- 1 teaspoon baking soda
- 1 teaspoon salt
- 1 teaspoon cocoa powder
- 1 1/2 cups vegetable oil
- 1 cup buttermilk, at room temperature
- 2 large eggs, at room temperature
- 2 tablespoons red food coloring
- 1 teaspoon vanilla extract
- 1 teaspoon white vinegar
For the Cream Cheese Frosting
- 1 cup unsalted butter, softened
- 8 oz cream cheese, softened
- 4 cups powdered sugar
- 1 teaspoon vanilla extract
- 1-2 tablespoons milk (if needed)
How-To Steps
Preheat your oven to 350°F (175°C) and grease two 9-inch round cake pans.
In a large bowl, sift together the flour, sugar, baking soda, salt, and cocoa powder.
In another bowl, mix the oil, buttermilk, eggs, food coloring, vanilla extract, and vinegar until well combined.
Gradually add the wet ingredients to the dry ingredients, mixing until just combined.
Divide the batter evenly between the prepared pans and bake for 30 minutes or until a toothpick inserted comes out clean.
Allow the cakes to cool in the pans for 10 minutes, then turn out onto wire racks to cool completely.
In a large bowl, beat the softened butter and cream cheese until smooth. Gradually add the powdered sugar and vanilla extract, mixing until creamy. Add milk as needed to achieve desired consistency.
Once the cakes are cool, spread frosting on top of one layer, place the second layer on top, and frost the top and sides of the cake.
Decorate with additional frosting or sprinkles if desired, slice, and serve!
Extra Tips
- Make sure all your ingredients are at room temperature for the best results. For an extra touch, consider adding chocolate chips into the batter or topping with fresh berries before serving.
Nutritional Breakdown (Per Serving)
- Calories: 350 kcal
- Total Fat: 23g
- Saturated Fat: 12g
- Cholesterol: 80mg
- Sodium: 300mg
- Total Carbohydrates: 37g
- Dietary Fiber: 1g
- Sugars: 25g
- Protein: 4g