Reese's Inspired Peanut Butter Cups
Highlighted under: Sweet Treats & Homemade Desserts
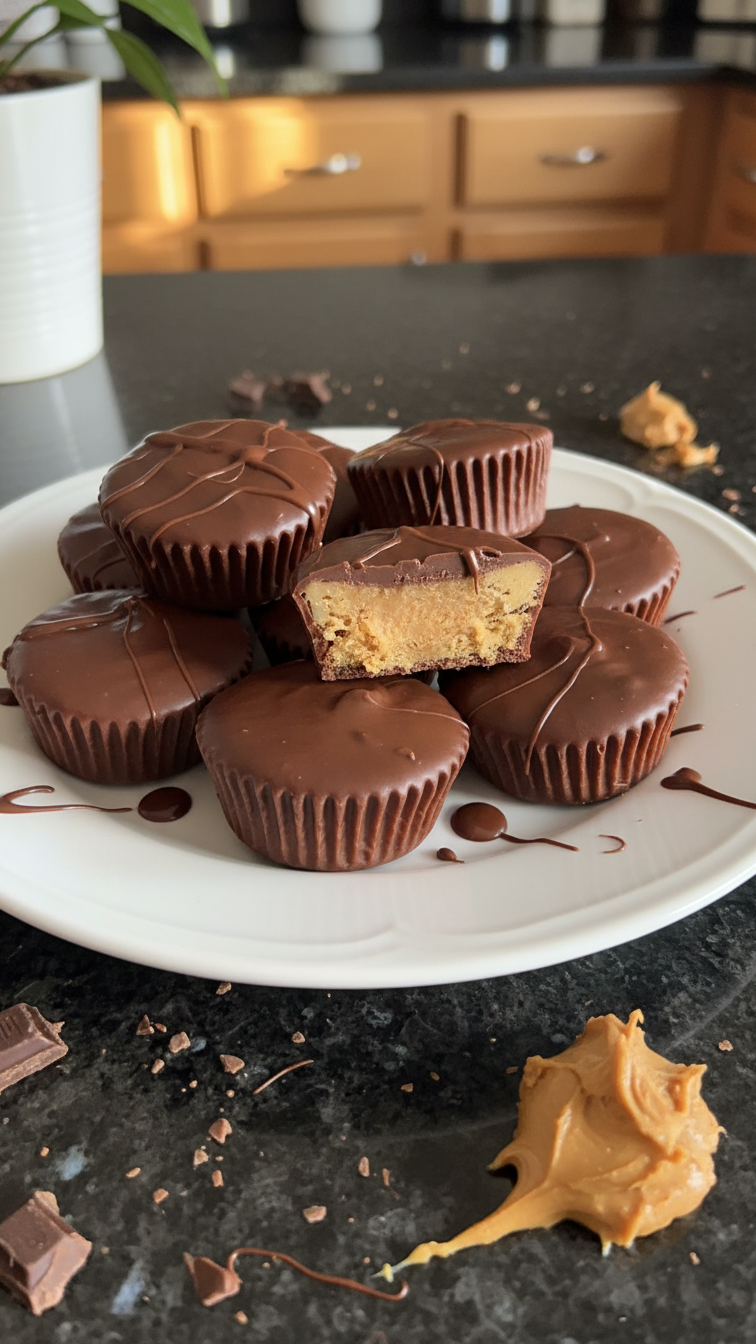
I can't get enough of these Reese's Inspired Peanut Butter Cups! Each bite is a delightful combination of creamy peanut butter and rich chocolate that transports me back to my childhood. Making them at home lets me customize the sweetness and texture exactly to my liking. Plus, they are so simple to prepare! With just a few ingredients, I can create a satisfying treat that rivals the store-bought version, but with that homemade charm. Trust me, you’ll want to whip up a batch to share with everyone or just to enjoy all by yourself.
While experimenting with homemade treats, I stumbled upon a method that made these peanut butter cups especially smooth and creamy. I found that using a combination of natural peanut butter and powdered sugar resulted in a filling that was perfectly sweet and held its shape. The chocolate coating melted beautifully, creating a rich outer shell that complements the peanut butter perfectly.
One tip I discovered is to use high-quality chocolate for the coating. It made a significant difference in the flavor and texture of the final product. I also like to refrigerate the cups for a while after dipping them to ensure that they set firmly, making them easier to remove from the molds.
Why You'll Love This Recipe
- Rich peanut butter filling that satisfies every craving
- Smooth chocolate coating that adds the perfect crunch
- Perfect for sharing or enjoying on your own
Why Choose Homemade?
Making Reese's Inspired Peanut Butter Cups at home allows you to have complete control over the ingredients. Store-bought varieties often contain preservatives and artificial flavors, but you can focus on the delicious core flavors here: real peanut butter and rich chocolate. You'll be surprised at how satisfying it is to create something that tastes indulgent without unwanted additives. Plus, you can tweak the sweetness to your liking by adjusting the powdered sugar in the filling.
Another great advantage is the flexibility in portion sizes. You can use different silicone molds to create various sizes, from mini bites to larger cups. If you're feeling adventurous, consider incorporating mix-ins like crushed graham crackers or chopped nuts into your peanut butter filling for added texture and flavor.
Ingredient Insights
The combination of creamy peanut butter, powdered sugar, and melted unsalted butter gives the filling its luscious texture. Creamy peanut butter is essential here—not only for the flavor but also for achieving that velvety mouthfeel. If you're looking for a healthier option, natural peanut butter can also be used, though you may need to adjust the powdered sugar for balance, as it's less sweet than processed versions.
When it comes to the chocolate coating, using high-quality milk chocolate chips ensures a smooth melting process and a rich flavor. The addition of coconut oil not only helps in achieving that perfect glossy finish but also makes the chocolate more pourable and easier to work with, especially when coating the molds. If you're looking to make these dairy-free, consider using dark chocolate chips or a dairy-free chocolate alternative.
Storage and Serving Suggestions
After you remove your homemade peanut butter cups from the molds, consider how you'll store them. They can be kept in an airtight container in the refrigerator for up to two weeks. For longer storage, you can freeze them; just make sure to separate each cup with parchment paper to prevent sticking. They thaw relatively quickly at room temperature, making them a great make-ahead treat for parties or gatherings.
As for serving, these peanut butter cups are delightful on their own, but you can elevate them even further. Drizzle melted chocolate over the tops for a decorative touch, or sprinkle with sea salt to enhance the flavor profile. For a fun dessert, pair them with a scoop of vanilla ice cream or break them up into chunks and mix them into brownies or cookies.
Ingredients
For the Peanut Butter Filling
- 1 cup creamy peanut butter
- 1/2 cup powdered sugar
- 1/4 cup unsalted butter, melted
For the Chocolate Coating
- 2 cups milk chocolate chips
- 1 tablespoon coconut oil
Mix the filling well to ensure a smooth texture.
Instructions
Prepare the Peanut Butter Filling
In a bowl, mix the creamy peanut butter, powdered sugar, and melted butter until smooth. Set aside.
Melt the Chocolate
In a microwave-safe bowl, combine the chocolate chips and coconut oil. Microwave in 30-second intervals, stirring in between, until fully melted and smooth.
Coat the Molds
Using a brush or spoon, coat the bottom and sides of silicone molds with the melted chocolate. Place in the freezer for about 10 minutes to set.
Fill with Peanut Butter
Once the chocolate is set, scoop the peanut butter filling into each mold, leaving a little space at the top.
Top with Chocolate
Cover the peanut butter filling with the remaining melted chocolate and smooth out the tops. Return to the freezer for another 10 minutes.
Remove from Molds
Once completely set, carefully pop the peanut butter cups out of the molds and serve or store in the refrigerator.
Enjoy these homemade peanut butter cups as a delightful treat!
Pro Tips
- For extra crunch, consider adding chopped peanuts into the filling. If you prefer dark chocolate, feel free to substitute the milk chocolate chips for dark chocolate chips.
Techniques for Perfect Cups
To ensure a smooth chocolate coating, it's essential to melt the chocolate chips slowly and evenly. Stirring every 30 seconds helps prevent overheating, which can lead to seizing. The chocolate should be glossy and pourable when ready. If you see it starting to thicken or clump, take it off the heat immediately and stir in a bit more coconut oil to bring it back to a velvety consistency.
When filling your molds, using a small cookie scoop can make the process neat and consistent. It helps distribute the peanut butter filling evenly without overfilling, which can make it difficult to cover with chocolate. If you happen to spill some filling over the edges, don’t fret; simply wipe it away with a clean cloth before adding the final chocolate layer.
Ingredient Substitution Tips
If you don't have powdered sugar on hand, you can make your own by blending granulated sugar with a small amount of cornstarch. This will give you a smooth consistency similar to store-bought powdered sugar. Remember to blend it well to avoid any graininess in your filling, which can detract from the overall velvety texture you want to achieve.
For a nut-free version, you can replace the peanut butter with sunbutter (sunflower seed butter), which offers a similar creamy texture and flavor. Keep in mind that sunbutter has a more pronounced taste; you might want to adjust the sweetness if you find it necessary. Additionally, always check the chocolate packaging to ensure it is nut-free as well.
Scaling the Recipe
If you need to make a larger batch for a gathering, you can easily double or triple the recipe. Just be mindful of the melting and setting times when using larger bowls or molds, as they can require slightly longer on occasion. Also, when melting the chocolate, it may be necessary to use a larger microwave-safe bowl or even a double boiler to accommodate the increased volume.
Conversely, if you want to make a smaller batch, you can use mini muffin tins. Just remember to adjust the amounts used in each step proportionately to ensure the ratio of chocolate to peanut butter remains deliciously satisfying in every bite.
Questions About Recipes
→ Can I use natural peanut butter?
Yes, natural peanut butter works well, just make sure it's well-stirred before measuring.
→ How should I store these peanut butter cups?
Store them in an airtight container in the refrigerator for up to a week.
→ Can I freeze the peanut butter cups?
Absolutely! They can be frozen for up to three months. Just ensure they are well-wrapped.
→ What can I substitute for powdered sugar?
You can use coconut sugar or make your own powdered sugar using granulated sugar blended until fine.
Reese's Inspired Peanut Butter Cups
Created by: The Pantrytrail Team
Recipe Type: Sweet Treats & Homemade Desserts
Skill Level: Beginner
Final Quantity: 12 cups
What You'll Need
For the Peanut Butter Filling
- 1 cup creamy peanut butter
- 1/2 cup powdered sugar
- 1/4 cup unsalted butter, melted
For the Chocolate Coating
- 2 cups milk chocolate chips
- 1 tablespoon coconut oil
How-To Steps
In a bowl, mix the creamy peanut butter, powdered sugar, and melted butter until smooth. Set aside.
In a microwave-safe bowl, combine the chocolate chips and coconut oil. Microwave in 30-second intervals, stirring in between, until fully melted and smooth.
Using a brush or spoon, coat the bottom and sides of silicone molds with the melted chocolate. Place in the freezer for about 10 minutes to set.
Once the chocolate is set, scoop the peanut butter filling into each mold, leaving a little space at the top.
Cover the peanut butter filling with the remaining melted chocolate and smooth out the tops. Return to the freezer for another 10 minutes.
Once completely set, carefully pop the peanut butter cups out of the molds and serve or store in the refrigerator.
Extra Tips
- For extra crunch, consider adding chopped peanuts into the filling. If you prefer dark chocolate, feel free to substitute the milk chocolate chips for dark chocolate chips.
Nutritional Breakdown (Per Serving)
- Calories: 380 kcal
- Total Fat: 26g
- Saturated Fat: 15g
- Cholesterol: 195mg
- Sodium: 85mg
- Total Carbohydrates: 32g
- Dietary Fiber: 3g
- Sugars: 24g
- Protein: 6g